 EN

Magnetic Whiteboards for Offices
Please tell us about your company's advantages and characteristics.
2026/09/16
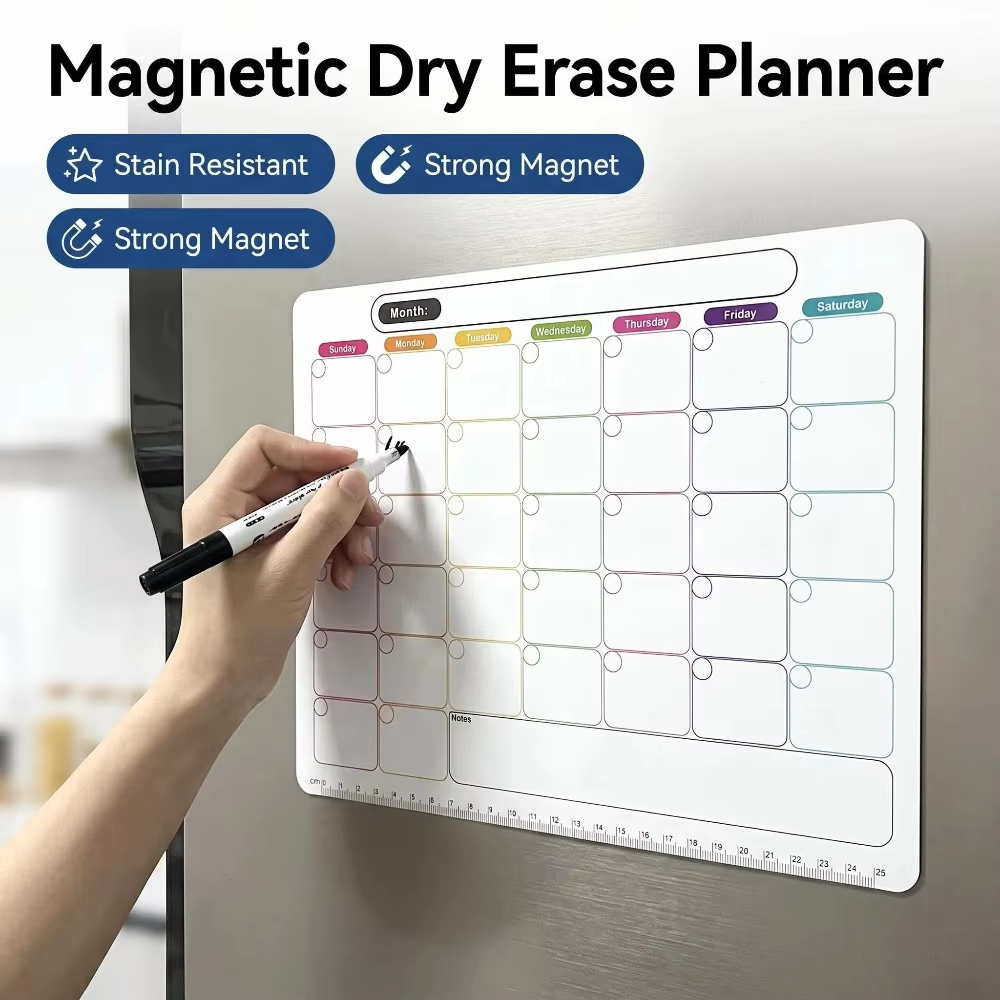
Achieving a smooth, professional, and bubble-free finish when transforming any ordinary office wall or partition into a collaborative writing surface begins with meticulous surface preparation. At UNU, our manufacturing and product development teams regularly assist global clients in ensuring that every self-adhesive whiteboard stickers installation project succeeds on the very first attempt. Before peeling away any protective backing liner, you must inspect the designated wall thoroughly. The ideal mounting substrate for self-adhesive whiteboard stickers must be completely clean, dry, smooth, and free from dust, grease, textured paint, or flaking wallpaper. If you apply premium self-adhesive whiteboard stickers over a dusty, uneven, or freshly painted wall—where the paint has not fully cured for at least three to four weeks—the adhesive compound will fail to bond properly, leading to premature peeling or unsightly air pockets. When working on your space, we recommend wiping down the chosen wall surface using a mild mixture of water and isopropyl alcohol during any dry erase sticker application, then allowing it to dry completely for a minimum of two hours. Taking time during this preliminary stage guarantees that your dry erase sticker application proceeds smoothly and adheres securely for years of daily office or classroom brainstorming sessions. Furthermore, proper surface conditioning prevents frustrating re-work and ensures that your chosen workspace upgrade looks clean and professional through every installation phase.
Once your target wall surface is spotless and completely dry, gathering the correct installation tools before handling the material makes the entire process efficient and stress-free. For a standard roll of removable whiteboard decals, you will need a soft felt squeegee or a microfiber smoothing cloth, a sharp utility knife or precision scissors, a metal straightedge ruler, and a pencil for marking reference guidelines. Avoid using hard plastic scrapers with sharp edges, as pressing too forcefully can scratch or puncture the specialized dry-erase writing film when handling removable whiteboard decals. When you unpack your product from UNU, unroll the film carefully on a clean, flat table surface and allow it to relax for at least two to four hours at normal room temperature. Because polymer-based films can retain a slight coil memory from packaging, letting the material flatten out naturally makes the subsequent whiteboard stickers install phase significantly easier to manage. If you are mounting a large section, having a second person assist you during alignment ensures that the sheet remains straight and plumb from top to bottom. Taking these measured steps during any professional whiteboard stickers install workflow prevents skewed installations and eliminates unnecessary stress when positioning large panels across corporate conference room walls. Each quality package includes clear instructions to guide users toward successful room transformations.
Precision alignment is the single most critical factor in determining whether your finished writing board looks professionally mounted or crooked and uneven. Begin by holding the top edge of the unrolled sheet against the wall at your desired height, using a spirit level to verify that the top boundary is perfectly horizontal. Secure just the top two corners of the backing sheet temporarily using low-tack painter's tape, allowing you to step back and visually confirm the overall placement. Once you are satisfied with the horizontal alignment, peel back approximately ten to fifteen centimeters of the protective release liner from the top edge, exposing the initial strip of adhesive. Press this top edge firmly against the wall using your microfiber smoothing cloth, working smoothly from the center outward toward both left and right flanks. This initial anchor strip holds the entire panel in place while you gradually remove the remaining backing paper. As you pull the release liner downward in slow, controlled increments with one hand, use your felt squeegee with the other hand to sweep across the surface in overlapping, downward strokes. This systematic technique forces trapped air outward and prevents wrinkles from forming, ensuring that your panels bond uniformly across the entire substrate without compromising the smooth dry-erase writing performance. Deploying professional materials correctly transforms office productivity.
Even with careful installation techniques, minor air bubbles or tiny dust particles occasionally become trapped beneath the film during the smoothing process. Knowing how to handle these minor imperfections properly ensures a crystal-clear writing plane that performs exceptionally well under daily marker usage. As you progress downward during your setup, always maintain a steady, moderate pressure with your felt squeegee rather than applying excessive force that could stretch or warp the flexible vinyl material. If you spot a small trapped air bubble behind the film, do not panic or attempt to rip the material back up, as this can damage the adhesive coating. Instead, use a fine sewing needle or the tip of a precision utility knife to puncture the bubble gently, then press the air out toward the tiny pinhole using your microfiber cloth. Our technical specialists at UNU note that routine post-installation smoothing during the first twenty-four hours helps the pressure-sensitive adhesive cure completely against porous and semi-porous walls. By paying close attention to these small operational details, you ensure that your removable whiteboard decals maintain an immaculate, glass-like finish that resists marker ghosting and wipes clean effortlessly after every meeting. Effective execution guarantees long-term customer satisfaction.
Completing the physical mounting process is only the first step toward enjoying a long-lasting, highly functional vertical collaboration space in your office or home. Once the installation is fully finished, inspect all perimeter edges and corners to ensure they adhere tightly to the wall surface without lifting or curling. Wait at least twenty-four to forty-eight hours before writing on the new surface with standard dry-erase markers, allowing the pressure-sensitive acrylic adhesive to reach its maximum bond strength. When the curing period is complete, use high-quality low-odor dry-erase markers and clean the board regularly with a soft microfiber cloth or a specialized whiteboard eraser. Avoid using abrasive scouring pads, harsh chemical solvents, or permanent markers, as these can permanently damage the specialized top-coat writing film. UNU provides comprehensive guidance and durable solutions designed to support smooth whiteboard stickers install projects across global commercial and educational markets. By combining proper installation methods with disciplined daily maintenance routines during every cycle, users ensure that their vertical writing boards remain pristine, highly functional, and visually appealing throughout years of intensive creative collaboration.
2026/08/20
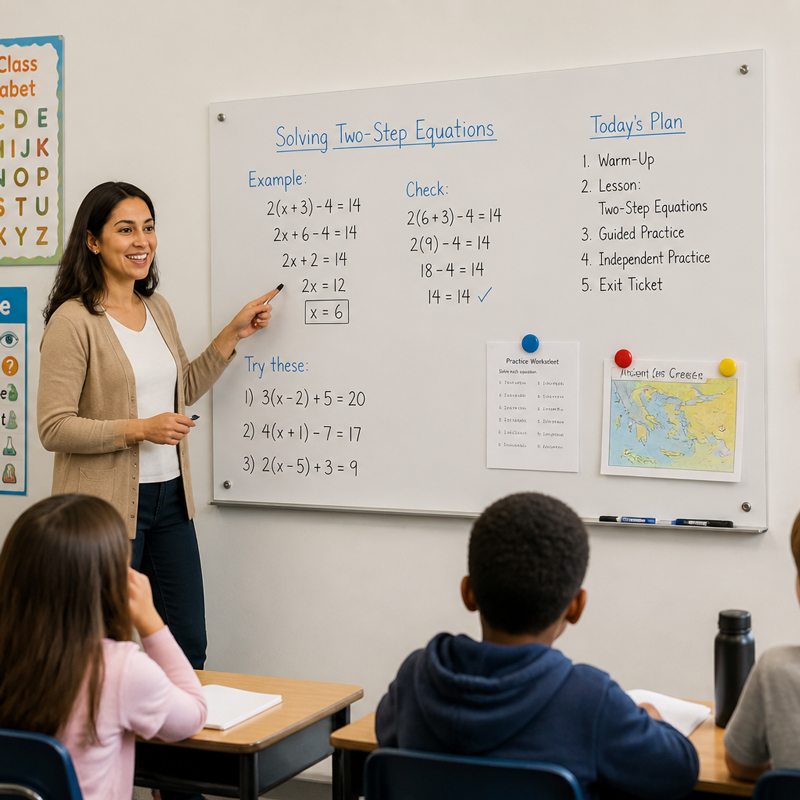
Unlock flexible, repositionable whiteboarding for education, agile offices, retail, healthcare & more. Cuttable, magnetic, certified — request your free B2B sample today.

2026/10/10
Discover the 2027 Texture Magnetic Collection & Exclusive Exhibition Promotions Dear Global Partners and Valued Clients, We are thrilled to announce that Shenzhen U&U Magnetic Technology Co., Ltd. (Brand: UCMD) will be officially exhibiting...
2026/08/19
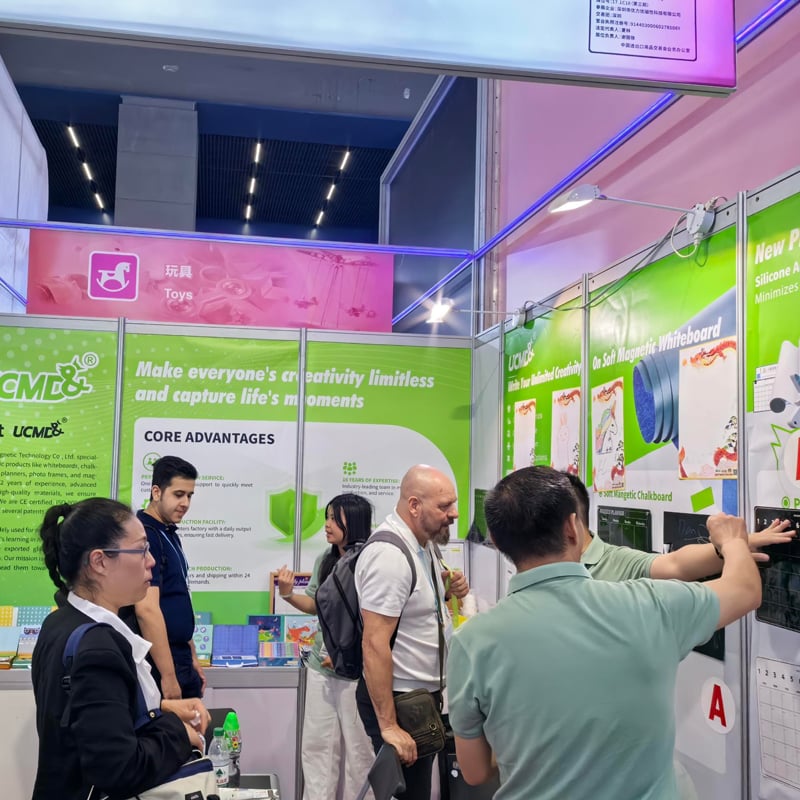
Discover how UCMD® leverages the Canton Fair to showcase magnetic educational & lifestyle products, build global buyer trust, and drive OEM/ODM partnerships. Explore our certified, customizable solutions today.

2026/08/28
Our Commitment to People, Planet & IntegrityAt ShenZhen U&U Magnetic Technology Co., Ltd. (UCMD®), we believe that how we make our products matters as much as what we make. From our factory floor in Shenzhen's Bao An District to the hands...

Please tell us about your company's advantages and characteristics.

Please tell us about your company's advantages and characteristics.

Please tell us about your company's advantages and characteristics.

Please tell us about your company's advantages and characteristics.

Please tell us about your company's advantages and characteristics.

Please tell us about your company's advantages and characteristics.

